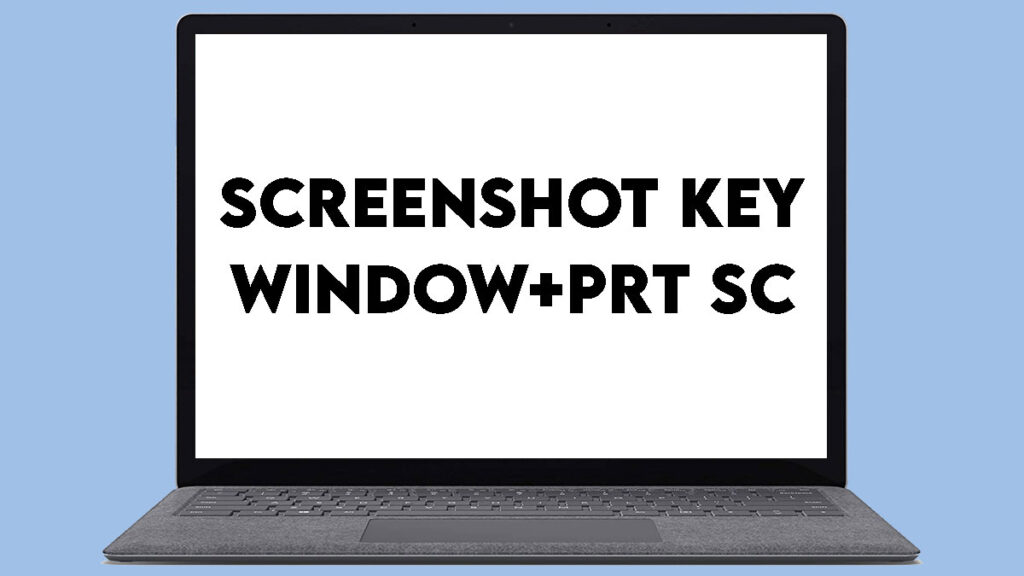
In the age of digital communication, taking a screenshot has become an essential skill. Whether you need to capture a funny meme, save important information, or share something interesting with your friends, knowing how to take a screenshot can be incredibly handy. In this comprehensive guide, we will walk you through various methods of taking screenshots on different devices and platforms. By the end of this article, you’ll be a screenshot pro, ready to capture anything that comes your way.
Taking Screenshots on Windows
Using the Print Screen Key
One of the most common methods to capture your screen on a Windows PC is by using the Print Screen (PrtScn) key. Here’s how you can do it:
- Locate the Print Screen key: You can usually find it in the upper-right corner of your keyboard.
- Capture the entire screen: Press the Print Screen key once, and it will copy your entire screen to the clipboard.
- Capture only the active window: To capture only the active window, press
Alt + Print Screensimultaneously. - Paste your screenshot: Open an image editor or a word processing program (like Microsoft Word), and paste (Ctrl + V) your screenshot. You can now edit or save it.
Snipping Tool
Windows also provides a built-in tool called the “Snipping Tool” for more advanced screenshot options:
- Search for Snipping Tool: Type “Snipping Tool” in the Windows search bar and open the application.
- Choose your snip type: Click on “New” to select the type of snip you want – free-form, rectangular, window, or full-screen.
- Capture and annotate: After taking the screenshot, you can annotate it with various tools provided by the Snipping Tool.
- Save your snip: Save the snip to your desired location on your computer.
Taking Screenshots on macOS
Using Keyboard Shortcuts
If you’re using a Mac, taking a screenshot is just a keystroke away:
- Capture the entire screen: Press
Shift + Command + 3together. Your screenshot will be saved to your desktop. - Capture a specific portion: Press
Shift + Command + 4, then drag to select the area you want to capture. Release the mouse button to take the screenshot. - Capture a specific window: Press
Shift + Command + 4, then press theSpacebar. Click on the window you want to capture.
Using Grab
For more advanced options, you can use the “Grab” utility on macOS:
- Open Grab: You can find it in the Utilities folder within the Applications folder.
- Select your capture type: Choose from “Selection,” “Window,” or “Screen.”
- Capture and save: After making your selection, capture the screenshot and save it to your desired location.
Taking Screenshots on Mobile Devices
On Android
Capturing a screenshot on an Android device is simple:
- Press the power and volume down buttons simultaneously: Depending on your Android device, this combination may vary slightly.
- Access your screenshot: You can view, edit, or share your screenshot from the notification panel or in your device’s gallery.
On iOS (iPhone and iPad)
Taking a screenshot on an iOS device is equally straightforward:
- Press the side button and volume up button simultaneously: The screen will flash, indicating a screenshot has been taken.
- Edit and share: After capturing, you can edit your screenshot or share it directly from the preview that appears in the corner of your screen.
Taking Screenshots on Linux
Linux offers various methods for taking screenshots, depending on your distribution and desktop environment. Common options include the “Print Screen” key, the “Screenshot” utility, and the “Shutter” application.
Conclusion
In this comprehensive guide, we’ve covered the ins and outs of taking screenshots on different devices and platforms. Whether you’re a Windows user, a Mac enthusiast, or a mobile device owner, you now have the knowledge to capture your screen effortlessly. Remember, practice makes perfect, so don’t hesitate to try out these methods and become a screenshot pro in no time.


